Hi friends! I know all the different printing methods for stationery can be confusing. I mean, what is the difference, really, between digital printing and offset?! And why is one at a higher price point than the other? Hopefully this post will help explain the methods I use most often, their price points, and when you should use each.
Let’s start with the least costly and move to the most costly. Shall we?
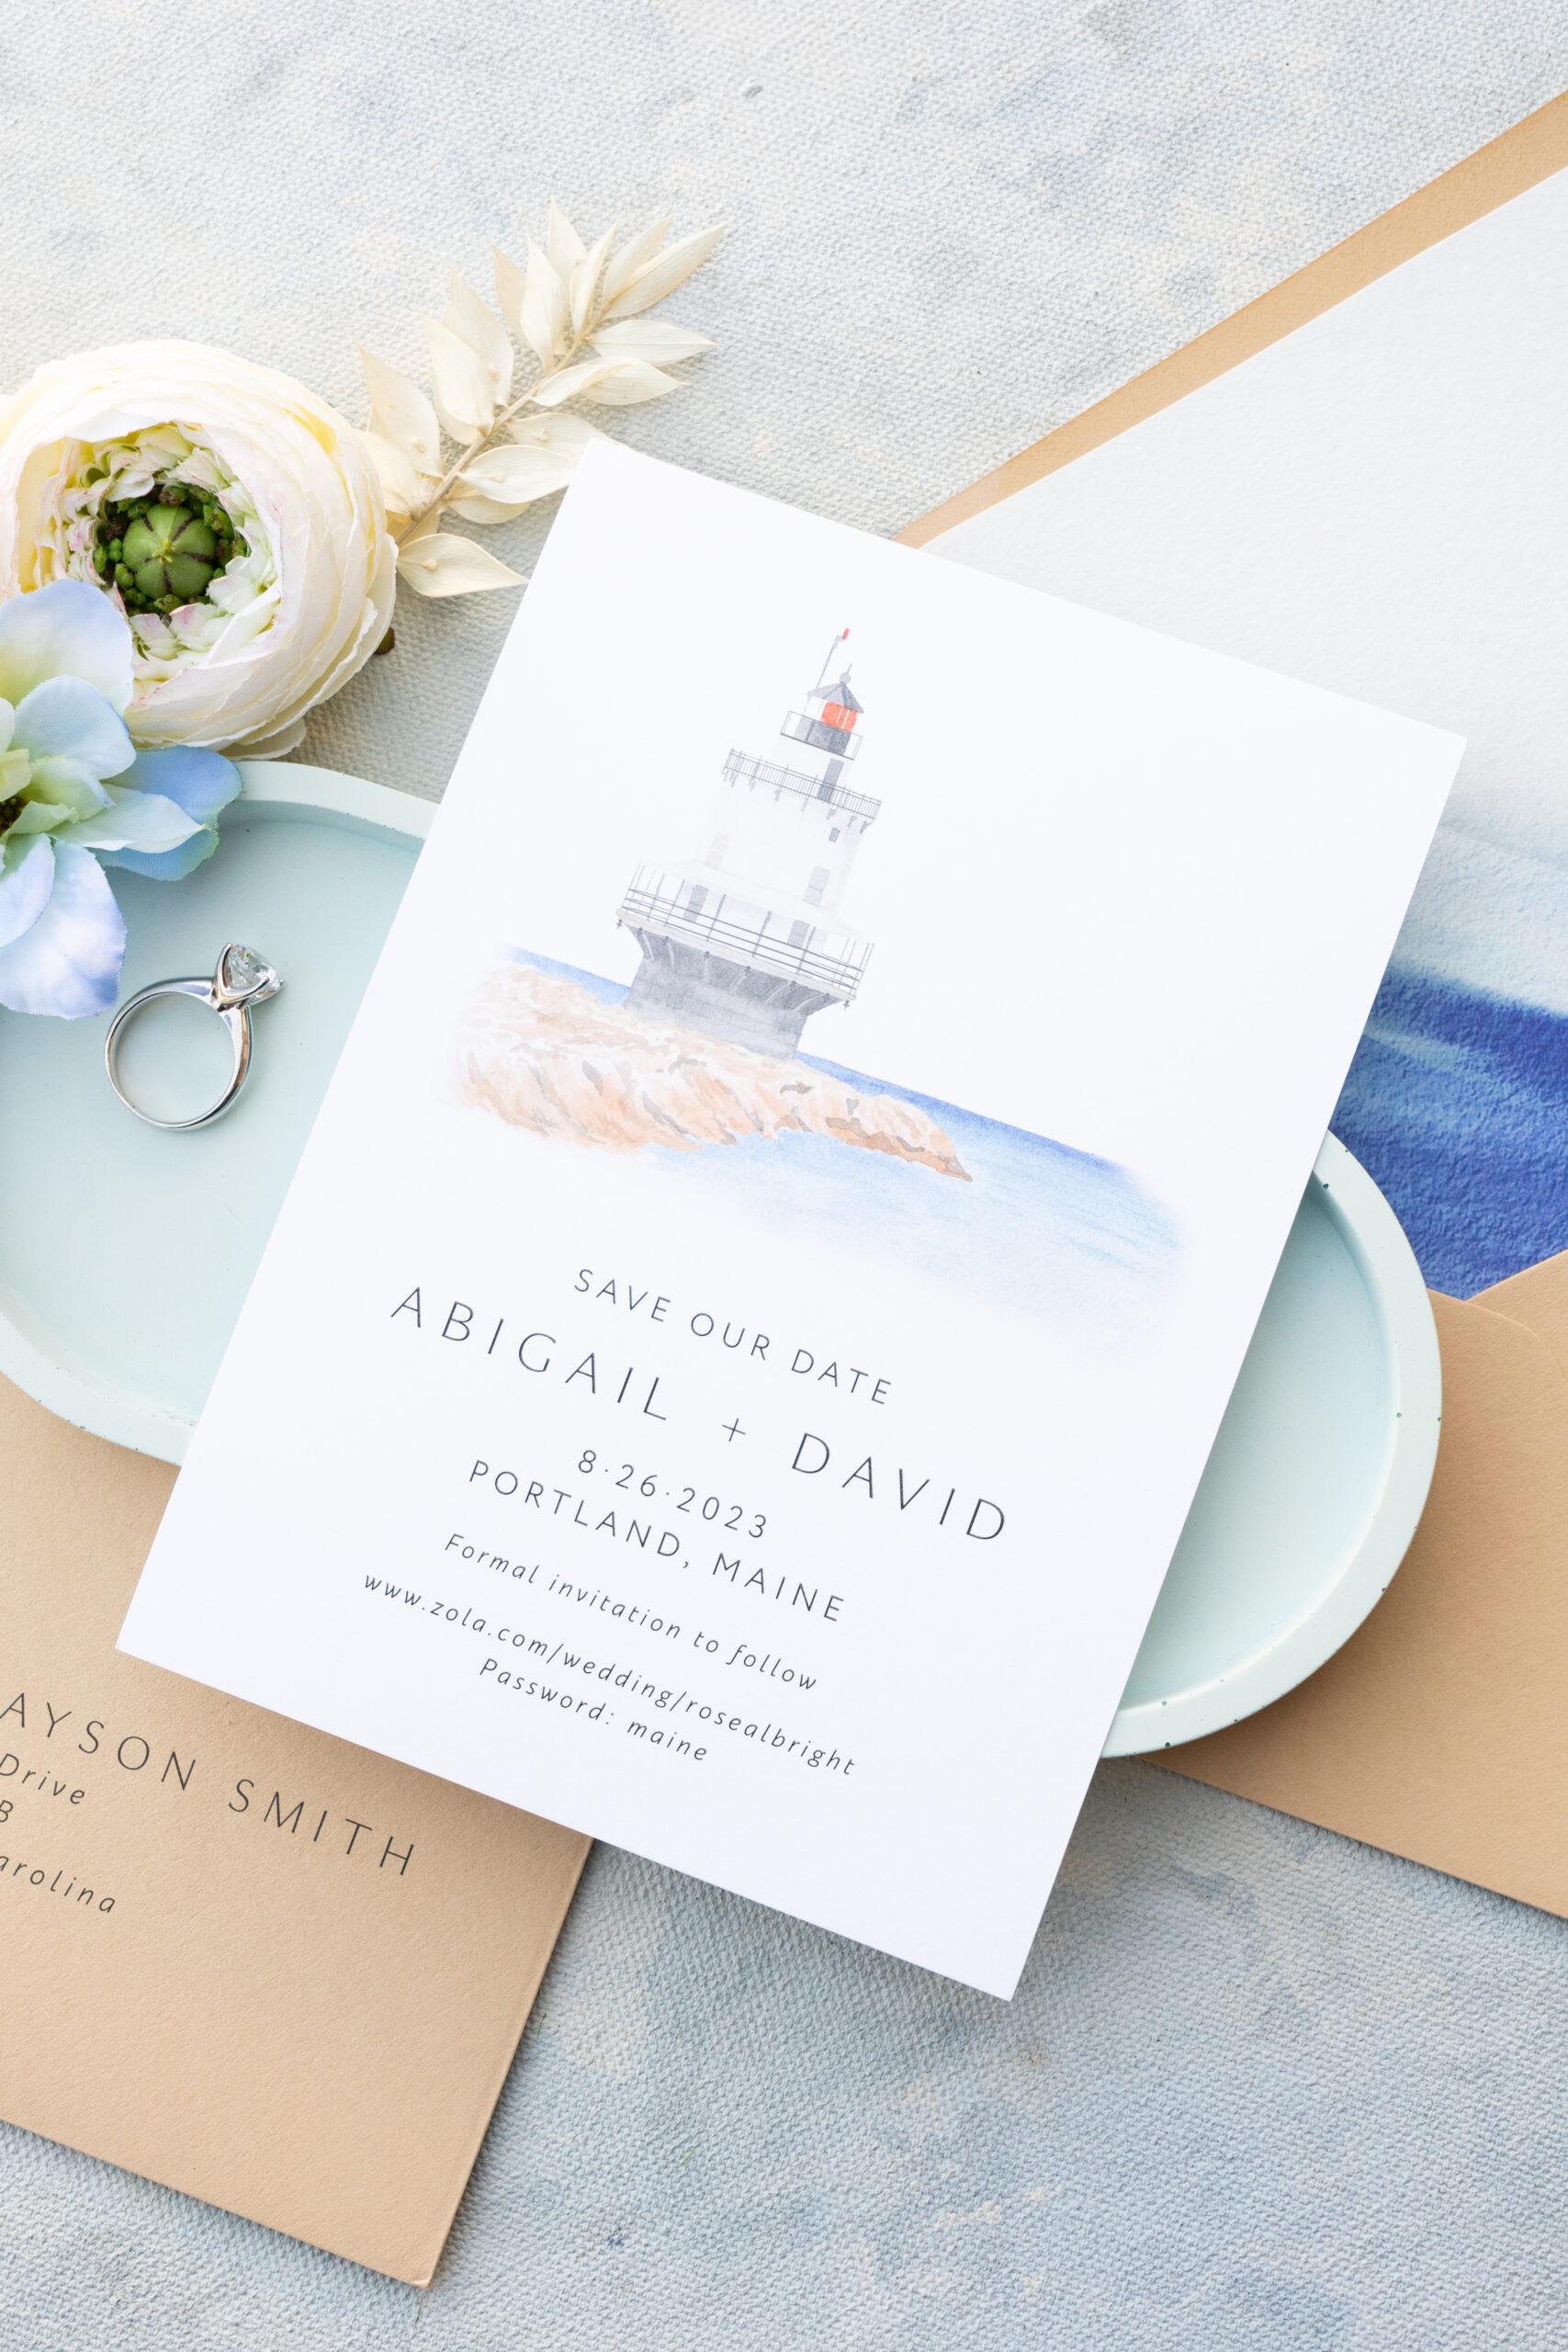
Flat or Digital Printing
This is probably the most common printing method these days. To put it simply, you choose a design, click Print, & you have your finished product in hand within minutes.
Pros: inexpensive, you can print any color under the rainbow, faster timeline, you can print smaller quantities.
Cons: you’re limited to the paper types and thicknesses. A digital printer can only hold, on average, a piece of paper that’s 110#…and sometimes that’s pushing it. To achieve the thicker paper with digital printing, you’ll need to have your printed design duplexed (meaning that it’s two or more sheets glued together). That adds expense and time onto your order. Another con would be that floods of color aren’t always accurate, but it depends on the color and the design. Photo by Peterson Design & Photography
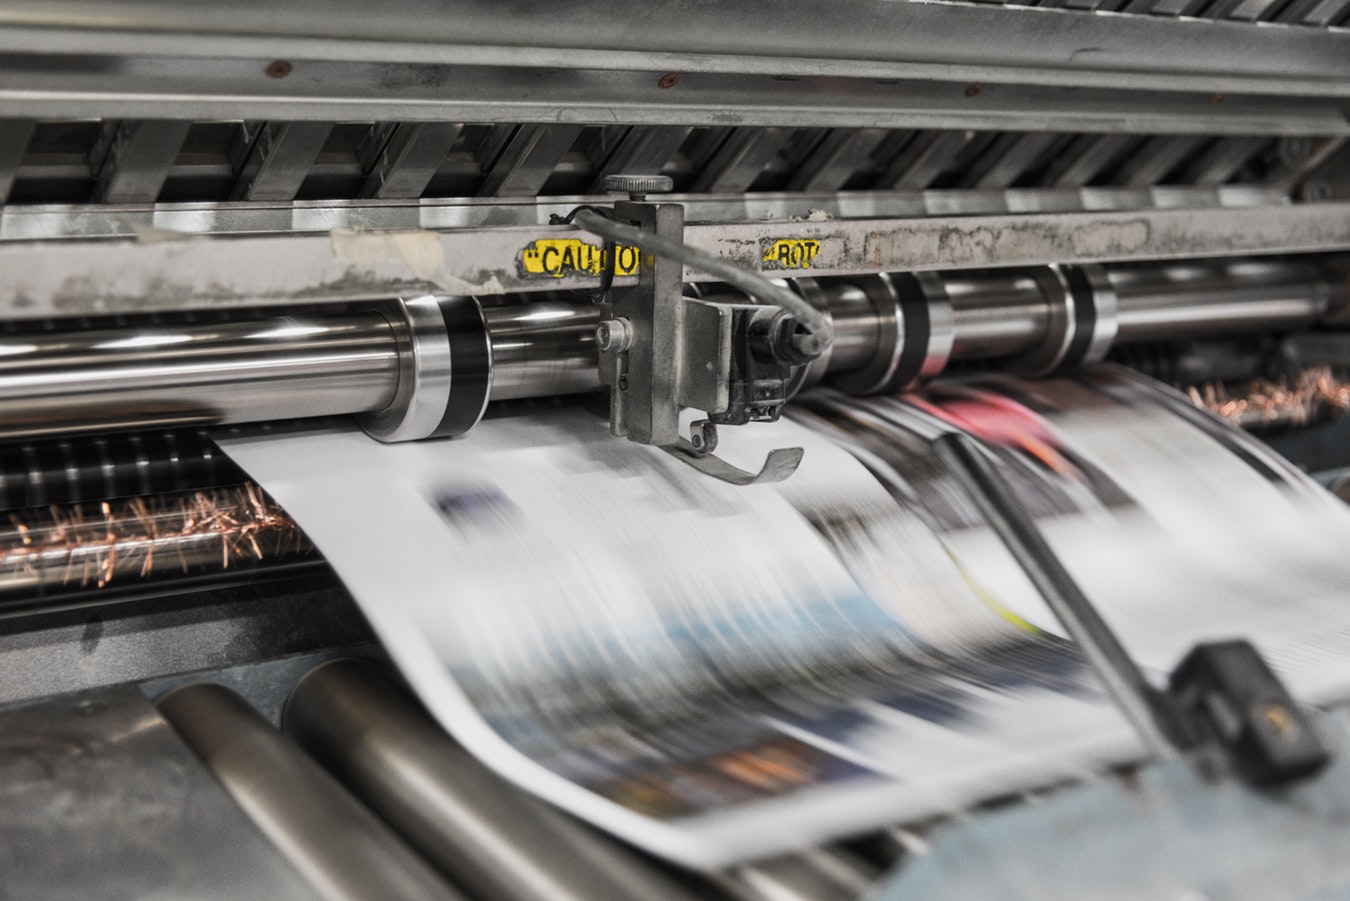 Offset Printing
Offset printing is also very common in the stationery industry. Ink is transferred from a metal plate to a rubber blanket, and then transferred onto the paper. This isn’t your every day, run-of-the-mill printing method though. A professional press operator is needed to run these huge machines. Each roller on the machine has a different color, so paper is sent through the machine like an assembly line to achieve your final design. Offset is good for when you need to match a specific Pantone color or need a large number of high quality prints.
Pros: high quality, good for exact color matching, consistent, you have more options for paper types
Cons: there is a setup fee involved, it’s more expensive when you order a small number of prints, longer timeline for the finished product, and the more colors you have, the more you’re going to spend.
 Thermography
Thermography is a method of printing that involves adding a powder to the printing ink, which is then heated to create a three-dimensional effect on the paper. It’s a less expensive alternative to engraving, which I’ll explain later in this post.
Pros: it’s gorgeous! If you’re going to go with a textured printing method, thermography is more affordable than engraving and letterpress printing.
Cons: more expensive and the timeline can be a little longer than offset or digital printing. Not recommended for multiple colors (the more colors, the more $$$) or fine details.
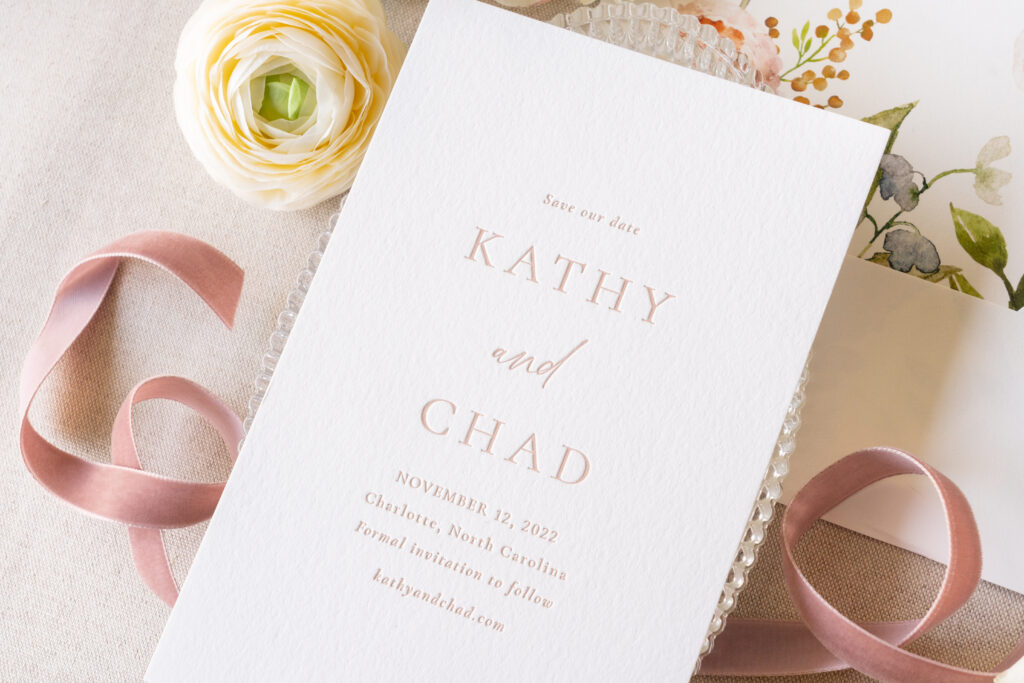
Letterpress Printing
Letterpress printing is a stunning method of printing. Your design is made into a plate, which is then secured to a press, inked (the ink is mixed by hand), and pressed into the paper. Each piece of paper is (usually) fed by hand, making the process very labor intensive.
Pros: again, it’s gorgeous! It’s very high quality, and it’s printed by someone who truly loves the process. It can be formal or informal, depending on the design.
Cons: The more colors you have, the more rounds of setup the printer will have to go through, making it more expensive. Sticking with one or two colors can help keep the cost down. A plate is made, which is an added cost. There is a longer timeline because it’s a manual process and you have to wait for the plate to be made before printing can begin. Photo by Peterson Design & Photography
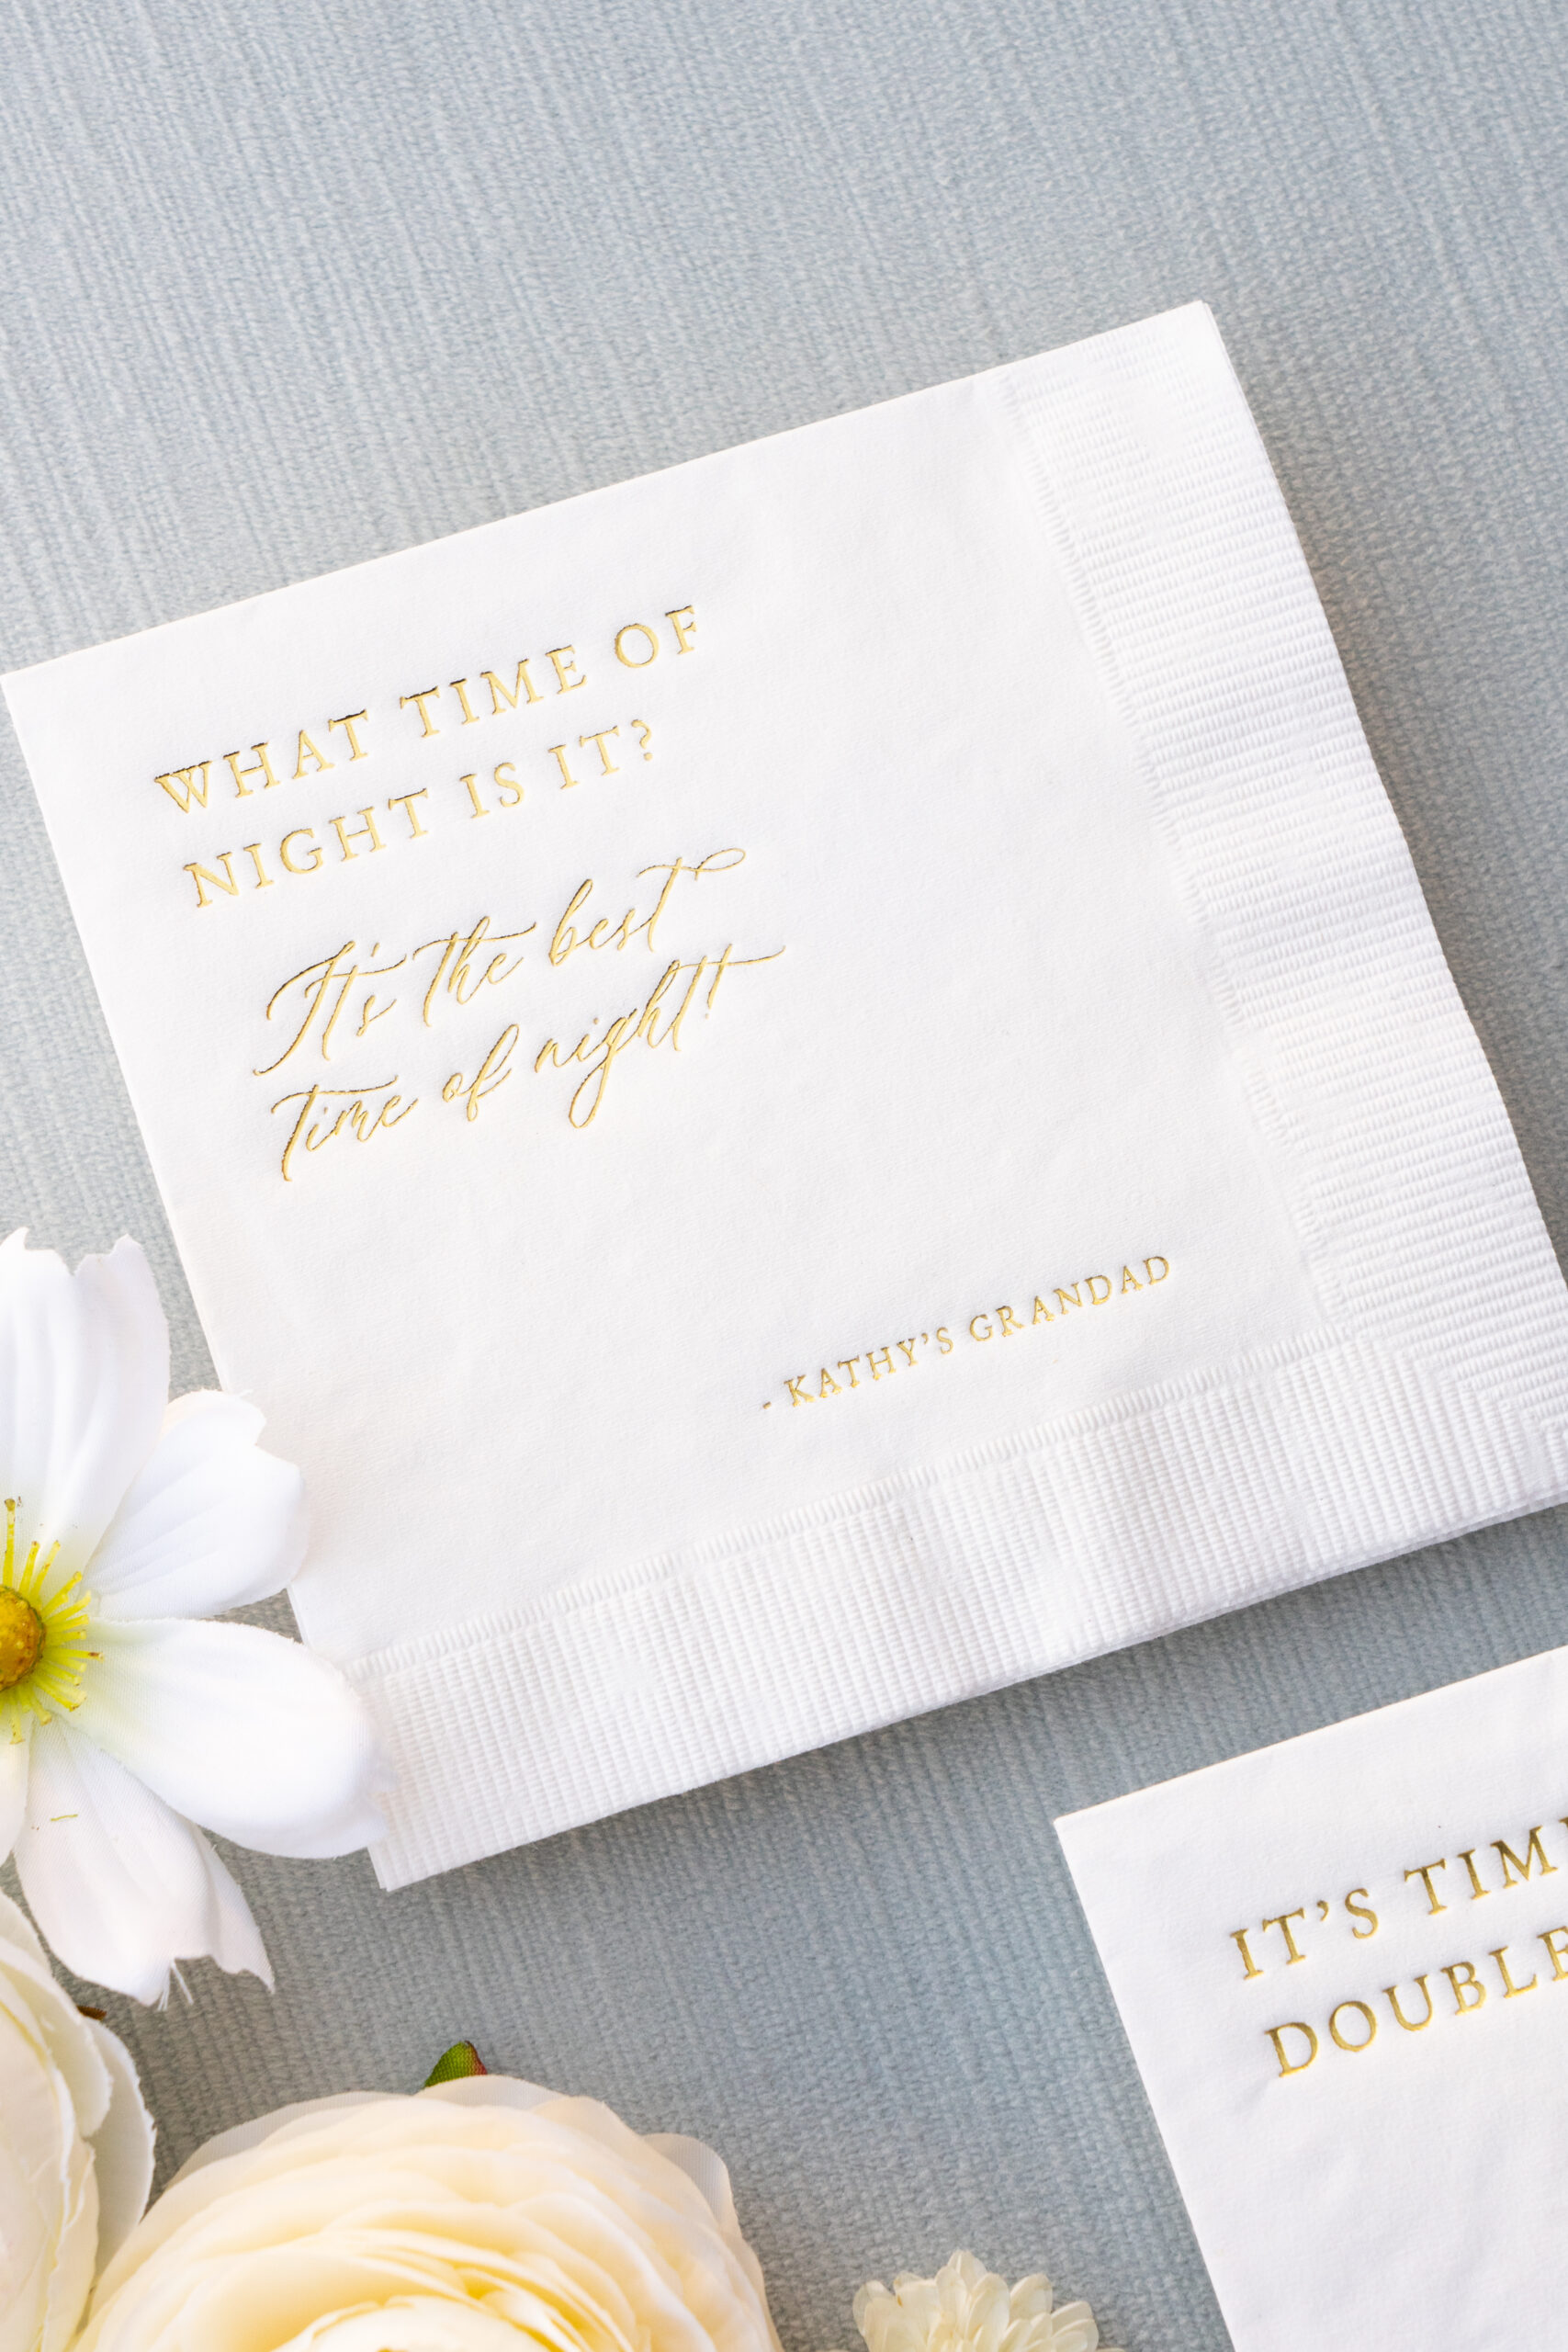
Foil Stamping
Foil stamping is a process that uses a thin foil rather than ink to create your design. Your design is made into a metal plate, which is then secured to the press and heated. The foil goes between the plate and the paper, and your design is pressed into the paper. There are a couple of choices when it comes to foil: matte or metallic. Matte foil is less reflective but still shiny (see photo above for an example). Metallic foil is more mirror-like. If you’re trying to decide between the two, most people choose the matte foil. Today, there are so many new color options for foil out there, so don’t think you’re limited to gold, silver, copper, or rose gold!
Pros: you’ll wow your guests for sure with foil stamped invitations. Details that have been foil pressed are so beautiful and are good for invitations, envelope liners, thank you cards, holiday cards, cocktail napkins, and so many more stationery items.
Cons: it can be expensive. More colors and larger plate sizes equal more money. Be sure to not go overboard on the foil…simple details and sections that are foiled have more impact than a whole card being foiled! Keep it simple 🙂 Photo by Peterson Design & Photography
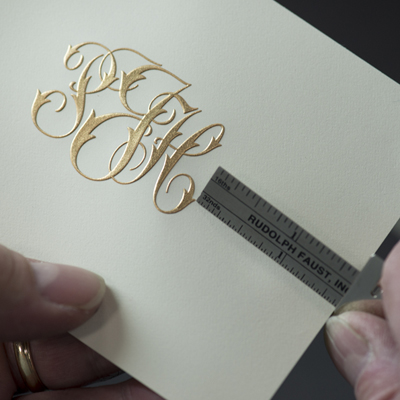 Engraving
Engraving is the most expensive method of printing. With engraving, your design is etched into a copper plate (aka a die). This is then filled with ink, and your paper is sandwiched between this front plate and a counter plate behind your paper. When pressed together, the paper is forced into the ink-filled, etched design, and released to reveal your design. With engraving, there are indentations on the reverse side of the paper. That is a tell-tale sign that something has been engraved.
Pros: absolutely beautiful and luxurious. This method can be used on everything from invitations to thank you cards. The raised impressions are crisp. This method works with thin lines and calligraphed scripts. Very recognizable and very formal.
Cons: very expensive and time consuming. Each piece of paper is hand fed into the machine.
I know printing can be somewhat confusing (especially when trying to figure out what can fit into your budget), so I hope this helps when you’re choosing your printing method! Please feel free to reach out to me with any questions. I’d love to work with you!
Because we mostly work with digital printing here at Dear Kathryn, some of the above photos have been borrowed from various websites such as www.paperevent.com, Unsplash, Crane.com, and Google. We do not claim these photos or the work within them as our own and we are simply using them as examples of printing methods.
SHARE POST